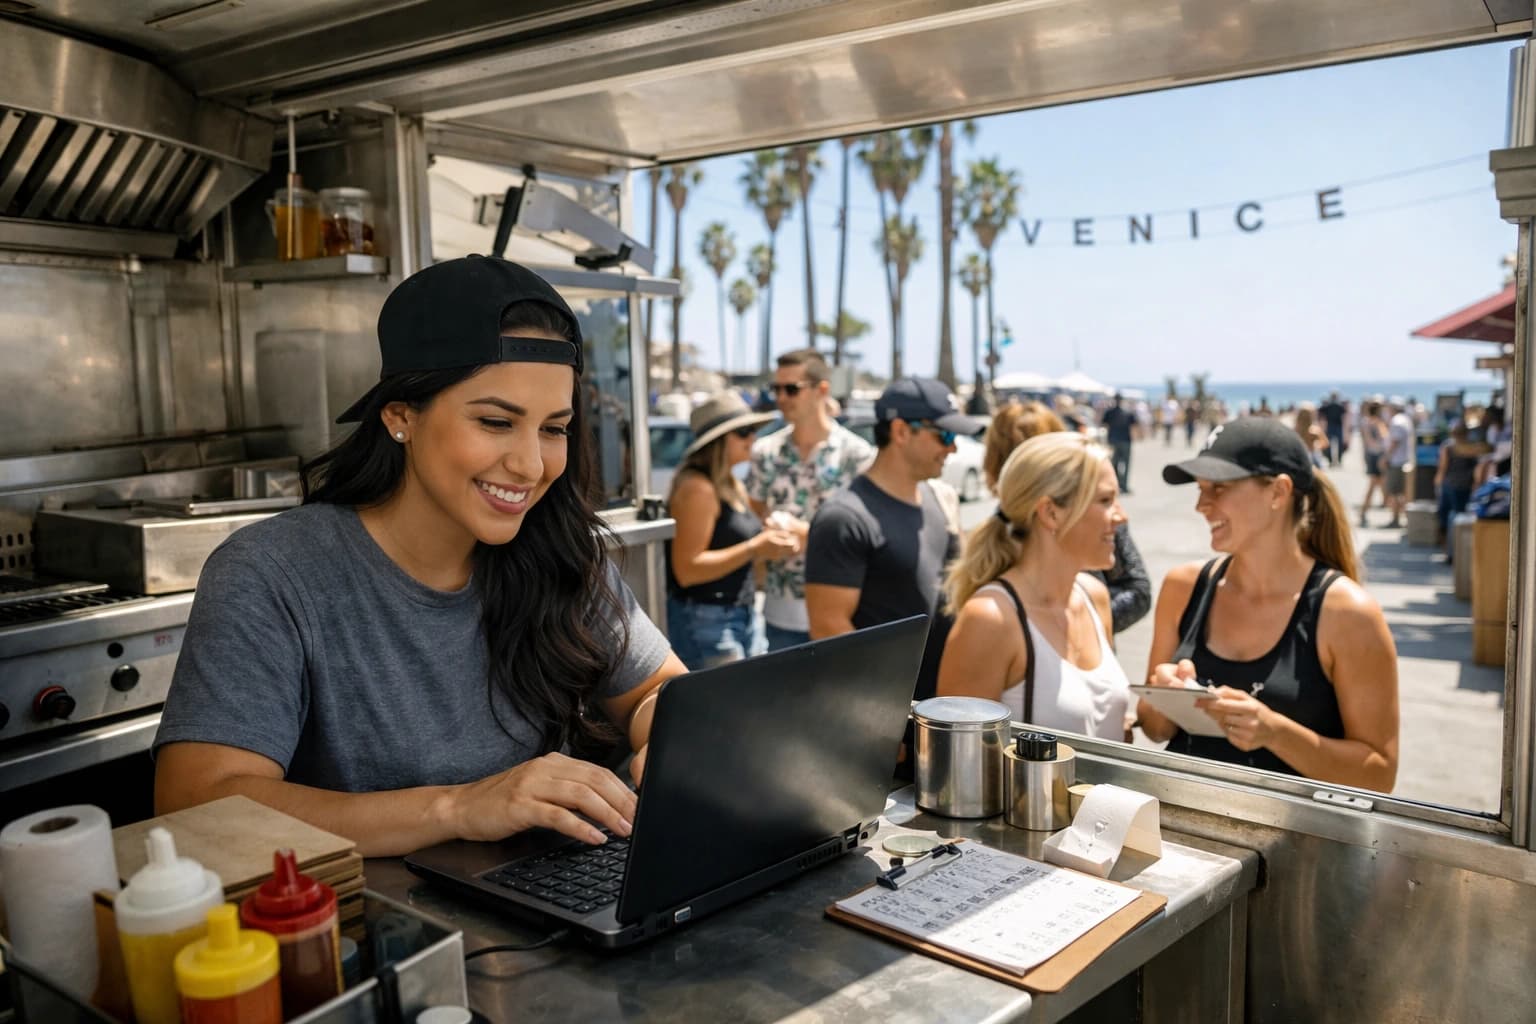
Your printer is out of menus again, the special just changed, and someone at table 12 is asking if the sauce has dairy. A QR code menu is supposed to fix this - but only if it is built for real service, not as a one-off PDF taped to the table.
This guide walks through how to make a qr code menu that is fast to edit mid-shift, easy for guests to use, and consistent across every table and location.
What a “good” QR code menu actually is
A QR code menu is not the QR code itself. The code is just the doorway. What matters is what guests land on after they scan.
If the QR opens a tiny PDF that pinches and zooms, you have basically recreated a paper menu with extra steps. If it opens a mobile-friendly page that loads quickly, matches your brand, and can be edited in seconds, you get the real benefits: fewer reprints, fewer server interruptions, and cleaner upsells.
The biggest decision is whether your QR code points to a static file (like a PDF) or a live menu page you can update anytime. PDFs feel simple, but they become painful the moment pricing, availability, or seasonal items change.
Step 1: Decide where the QR code should send guests
You have three common options, and the right choice depends on how often your menu changes.
A PDF link is the quickest to set up. It is also the hardest to keep current, and it is rarely great on mobile. It can work for a food truck with a stable, short menu, but it is fragile for full-service operations.
A website page can be better if it is truly mobile-first and easy to edit. The catch is operational: if updating the page requires a developer or logging into a complicated website CMS, it will not get updated during service.
A dedicated digital menu workspace is built for exactly this job: edit once and every QR code reflects the change instantly. This is the best fit if you change 86’d items, rotate specials, run multiple locations, or need translations and dietary labeling without extra tools.
Step 2: Build a menu structure that scans in seconds
Most guests do not read a QR menu the way they read a printed menu. They scroll. They skim. They decide fast.
Start by organizing categories the way people order. If you are a bar, lead with cocktails, beer, and wine, not “About Us.” If you are a pizza shop, put pizza styles first, then add-ons, then salads and sides.
Keep category names obvious. “Handhelds” might sound cool, but “Sandwiches” is faster. Use short item names, then one clear description line. Save long stories for one or two signature dishes if you want, but remember the goal: reduce questions, speed decisions.
If you have modifiers that always come up - gluten-free crust, dairy-free cheese, spice level, protein options - build them into the item layout so servers do not have to repeat themselves at the table.
Step 3: Add pricing and availability with service in mind
Your QR menu should reflect what you can actually sell right now. That is where operators win back time.
If your menu changes weekly, you need editing that is faster than opening a design file, exporting a PDF, uploading it, and hoping the old link is not still cached somewhere. Ideally, you can toggle items on and off, update prices, or add a special in under a minute.
There is a trade-off here. The more you treat the digital menu like a living tool, the more you need a single source of truth. If multiple managers can edit, set a simple rule: one person owns menu changes per shift, or changes get messy fast.
Step 4: Make it feel like your restaurant, not a generic template
Branding is not about being fancy. It is about clarity and trust.
Use your real logo, your brand colors, and a readable font size. High-contrast text is non-negotiable for dim dining rooms and patios. If your brand color is light gray, use it for accents, not body text.
Add food photos only if they are good and consistent. A few strong images can increase confidence and drive higher-ticket items. A mix of dark, blurry photos can do the opposite and slow guests down.
Step 5: Include allergen and dietary info that reduces interruptions
Guests ask about allergens when the menu does not answer them. The fastest service is the menu that prevents the question.
At a minimum, label the big decision drivers: dairy, gluten, nuts, shellfish, vegetarian, vegan. If you can add notes like “contains sesame” or “prepared in a shared fryer,” even better. It protects guests and it protects staff from guessing.
It depends on your operation how deep you go. A high-volume bar might keep it simple. A cafe in a tourist area or a restaurant with frequent dietary requests should treat labeling as a core part of the menu experience.
Step 6: Translate the menu if you serve international guests
Translation is one of the most underrated reasons to go digital.
If you have tourists, hotel traffic, or a bilingual local audience, a multi-language menu reduces friction immediately. Guests feel taken care of, and your team spends less time translating items table-side.
The key is consistency. If you translate once but forget to update translations when the English menu changes, the experience breaks. That is why translation should live inside the same system you use to edit the menu, not in a separate document you might forget.
Step 7: Generate the QR code correctly (and make it future-proof)
Once your menu page is ready, you generate the QR code that points to it. This part is easy to do poorly.
Use a dynamic destination if possible: one URL that stays the same even when you update content. That way, you do not have to reprint QR codes every time the menu changes.
Make the code high resolution. Pixelated QR codes fail under low light, on glossy prints, and after a few months of wiping tables.
Test from multiple phones. Scan distance matters. A QR code that works on your manager’s phone from two inches away might fail for guests in real conditions.
If you want the code to look on-brand, you can add a logo mark or adjust colors, but do it carefully. Too little contrast kills scan reliability. Function beats style here.
Step 8: Place and print QR codes for real dining room behavior
Placement is an operational decision, not a design one.
Table tents work well if they are stable and easy to wipe. Stickers can be great for bars and food trucks, but only if they are laminated or protected. For patios, plan for sun glare and weather.
Wherever you put them, add one line of instruction. “Scan to view menu” is enough. If you also take orders at the counter, say so. Guests should not have to guess if the QR is for browsing only or if it leads to ordering.
Also consider accessibility. Not every guest wants to scan. Keep one or two printed menus available, and train staff to offer them quickly without making it awkward.
Step 9: Update in seconds, not after service
The whole point of a QR code menu is that you can change it when reality changes.
If you 86 an item, update it right then. If happy hour starts, update the pricing or highlight the section. If you are testing a new special, publish it without waiting for the next print run.
This is where an all-in-one menu workspace pays off. With a platform like Kiuar.menu, operators can build and brand menus, manage translations, add allergen and dietary labels, and publish updates so every table’s QR code reflects changes instantly - without designers or reprints.
Step 10: Use analytics to make the menu work harder
A digital menu can do more than display items. It can tell you what guests actually view.
If you notice people open the cocktails section constantly but a certain drink never gets attention, that is a placement or naming issue, not always a recipe issue. If a high-margin appetizer is buried, move it up. If a seasonal item is getting traction, feature it.
Analytics will not replace server intuition, but it can settle debates fast. The trade-off is that you need enough traffic for the data to mean something. For a small cafe, look for directional signals over time rather than day-to-day swings.
Common mistakes that make QR menus frustrating
The biggest mistake is treating a QR menu like a poster: one PDF, one size, one upload, done. Guests end up pinching and zooming, and staff still answers the same questions.
Another common issue is slow load time. If the menu takes more than a couple seconds to appear on cellular, guests give up or ask for help. Keep the experience lightweight and mobile-first.
Finally, do not let the QR code drift from reality. A menu that shows items you cannot serve creates disappointment and slows the floor. Accuracy is hospitality.
A closing thought
A QR code menu is worth doing when it gives you control during the moments you cannot predict - the surprise rush, the supplier substitution, the sudden 86, the last-minute price change. Build it so you can act in real time, and your guests will feel that calm competence even if the kitchen is moving at full speed.